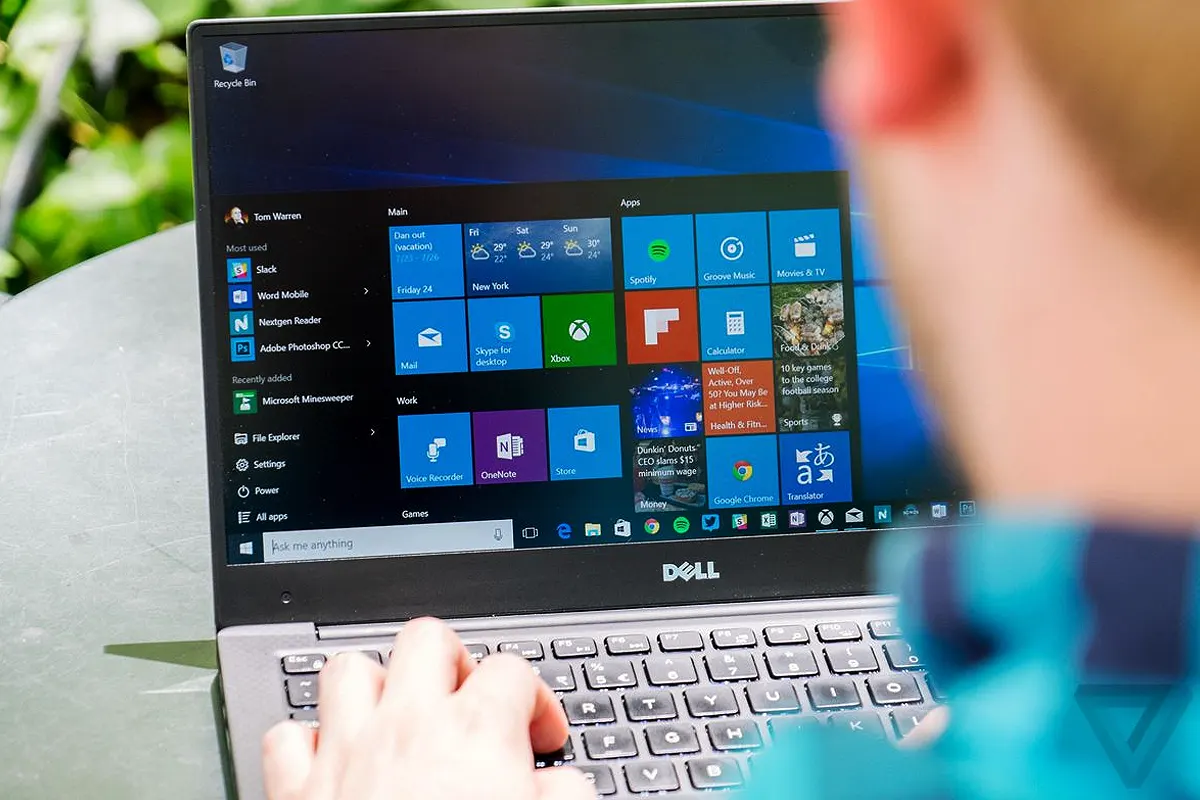
How to Take Screenshot in Dell Laptop Windows 10 – Have you ever been in a situation where you needed to take a screenshot on your Dell laptop running Windows 10 but had no idea how? Well, trust me, I’ve been there! So, let’s dive right into it because capturing the perfect screenshot should never be complicated.
How to Take a Screenshot in Dell Laptop Windows 10 Using Keyboard Shortcuts
If you love shortcuts, then you’re in luck because Dell laptops come with built-in screenshot options that make everything so much easier!
1. Capture the Entire Screen
- First, press PrtSc (Print Screen) right away because that instantly captures your entire screen.
- Next, open Paint, Word, or any image editor, and then press Ctrl + V so you can paste and edit.
2. Capture and Auto-Save Screenshot
- Simply press Windows + PrtSc, and then your screen will dim for a second to confirm it worked.
- After that, check Pictures > Screenshots because the file gets saved automatically there.
3. Capture the Active Window Only
- Press Alt + PrtSc right away because this method captures only the active window.
- Then, open an image editor and quickly press Ctrl + V so you can paste and use the image immediately.
Honestly, this is the best method when you need to send quick screenshots to your friends because it avoids unnecessary cropping!
How to Take a Screenshot on Dell Laptop Using Snipping Tool
If you prefer flexibility, then you should try the Snipping Tool because it offers different capture modes.
Steps to Use Snipping Tool:
- First, type Snipping Tool in the Start menu and open it immediately.
- After that, click New because that starts the screenshot process right away.
- Then, choose from these options:
- Free-form Snip for drawing custom shapes.
- Rectangular Snip for capturing specific areas.
- Window Snip for selecting one active window.
- Full-screen Snip for capturing everything at once.
- Once that’s done, you can edit or save it as needed.
Even though Microsoft is replacing this tool with Snip & Sketch, it still works great for Windows 10 users!
How to Take a Screenshot in Dell Laptop Using Snip & Sketch
If you want a modern tool, then Snip & Sketch is the way to go because it’s fast, simple, and super efficient!
How to Use Snip & Sketch:
- First, press Windows + Shift + S because that instantly opens the Snip & Sketch overlay.
- After that, the screen will dim, and then a small menu appears at the top.
- Next, select one of these options:
- Rectangular Snip for quick grabs.
- Free-form Snip for drawing unique shapes.
- Window Snip for selecting specific windows.
- Full-screen Snip for capturing the entire screen.
- Then, the screenshot is copied to the clipboard immediately, and you can click the notification to edit and save it right away.
One time, I had to send an urgent error screenshot to tech support, and Snip & Sketch saved the day because it worked instantly!
How to Take a Screenshot on Dell Laptop While Gaming
If you’re a gamer, then you should definitely use Windows Game Bar because it’s the easiest way to capture gameplay screenshots!
How to Use Windows Game Bar:
- First, press Windows + G so you can open the Game Bar immediately.
- After that, click the Capture button, or press Windows + Alt + PrtSc, because that instantly takes a screenshot.
- Then, find your screenshot saved in Videos > Captures because that’s the default location.
If you’re recording gameplay, then you can take screenshots at the same time, which makes this feature even better!
Using Third-Party Apps for Screenshots on Dell Laptop
If you need advanced features, then third-party apps can make a huge difference because they offer extra customization options.
Best Third-Party Screenshot Apps:
- Lightshot because it’s easy to edit and share instantly.
- Greenshot because it’s perfect for professionals who need detailed editing tools.
- Snagit because it’s the best option for advanced screenshot editing and recording.
Personally, I love Lightshot because it lets me upload screenshots quickly and share them with just one link!
Where Are My Screenshots Saved?
After taking a screenshot, you might wonder where it went because finding it quickly is just as important as capturing it!
Screenshot Save Locations:
- Clipboard if you used PrtSc or Snip & Sketch, so you need to paste it manually.
- Pictures > Screenshots if you used Windows + PrtSc because that’s the automatic save location.
- Videos > Captures if you used the Game Bar, so you can find it in the Captures folder.
One time, I panicked because I thought my screenshot disappeared, but then I realized it was sitting in the Screenshots folder all along!
FAQs: How to Take Screenshot in Dell Laptop Windows 10
How do I take a scrolling screenshot on a Dell laptop?
If you need a scrolling screenshot, then you should use Snagit or a browser extension like GoFullPage because they capture entire webpages easily.
Why is my Print Screen button not working?
If your Print Screen button isn’t working, then try pressing Fn + PrtSc because some Dell laptops require the function key.
Can I change the default save location of screenshots?
Yes, you can move the Screenshots folder by right-clicking it, selecting Properties > Location, and then choosing a new folder.


